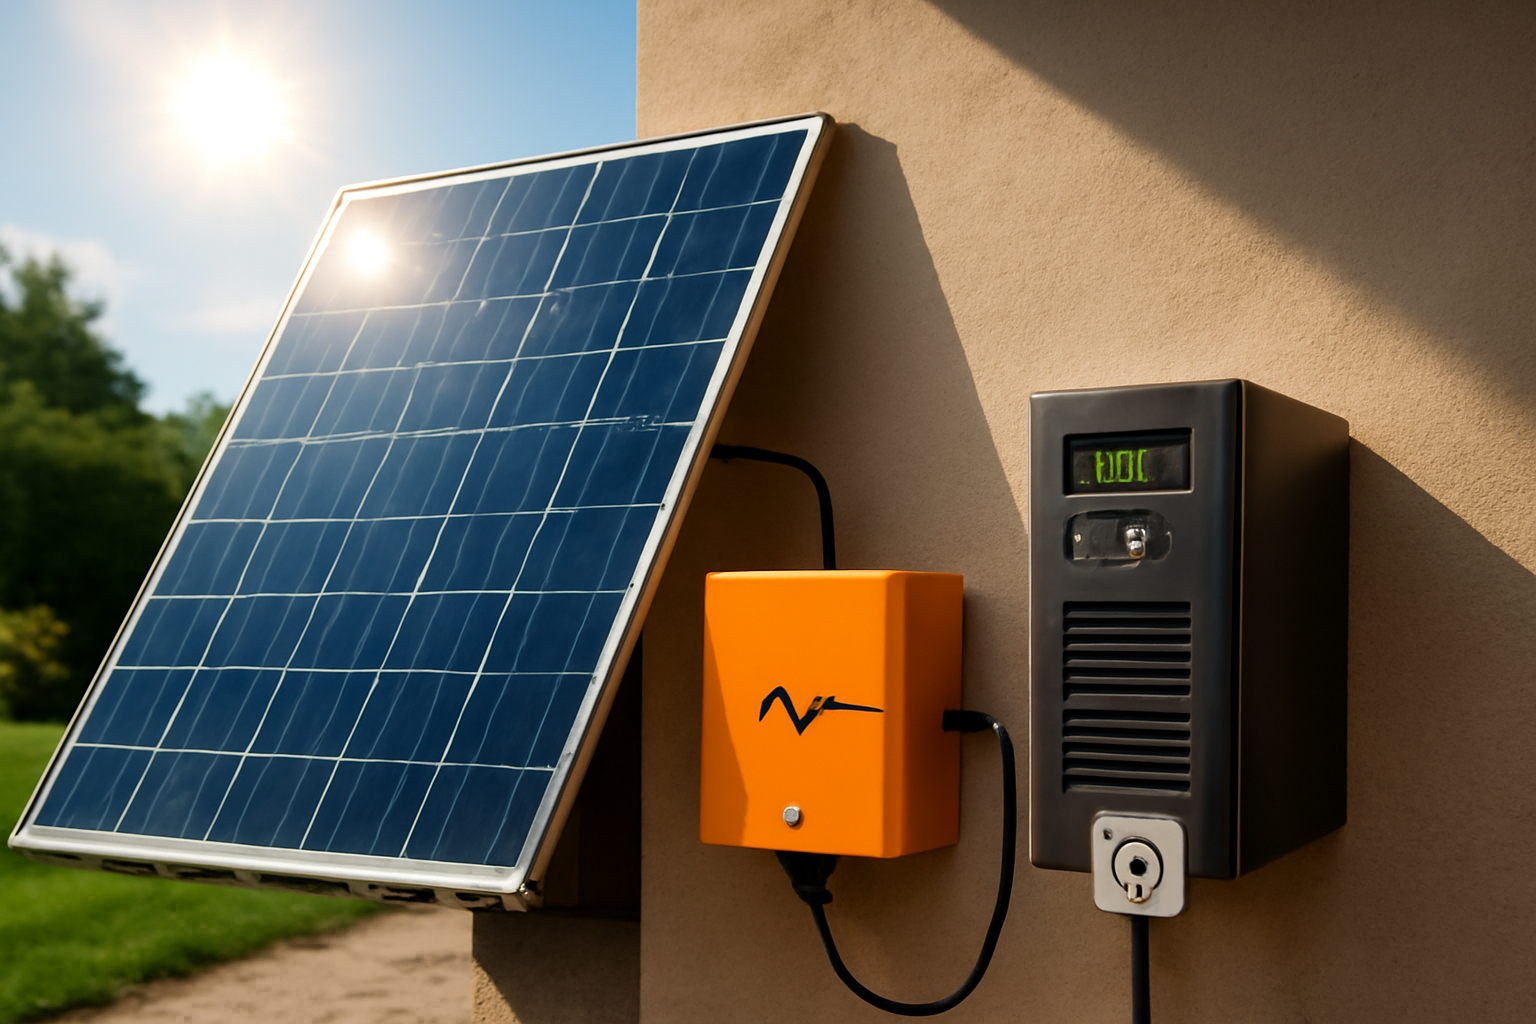
A solar charge controller is basically a smart device that manages the transfer of electricity from solar panels to your batteries. It makes sure that batteries get the right amount of energy, as too much energy can damage them and too little can leave them uncharged. So by balancing the amount of energy, it ensures that your batteries can last longer and work greatly. Without a charge controller, your batteries could get ruined, or your solar panel system might stop working properly. Think of it as the traffic cop of your solar system, directing the energy safely. It’s a must-have part of any solar setup.

Types of Solar Charge Controllers

There are two main types of solar charge controllers:

  • PWM (Pulse Width Modulation): They are budget-friendly and work best for smaller systems.
  • MPPT (Maximum Power Point Tracking): They are more efficient, but their cost is high.

Things You’ll Need

Before you start, gather the following things:

  • Solar charge controller
  • Battery bank
  • Solar panels
  • Wires (with appropriate thickness)
  • Multimeter (for checking voltages)

Steps to Install Your Solar Charge Controller

Step 1: Turn Off the System

When you start working, you should make sure that everything is turned off. Firstly, disconnect the solar panels and then the battery. By this safety method, you will be safe from electric shocks or short circuits. Always double-check that no power is flowing before you begin.

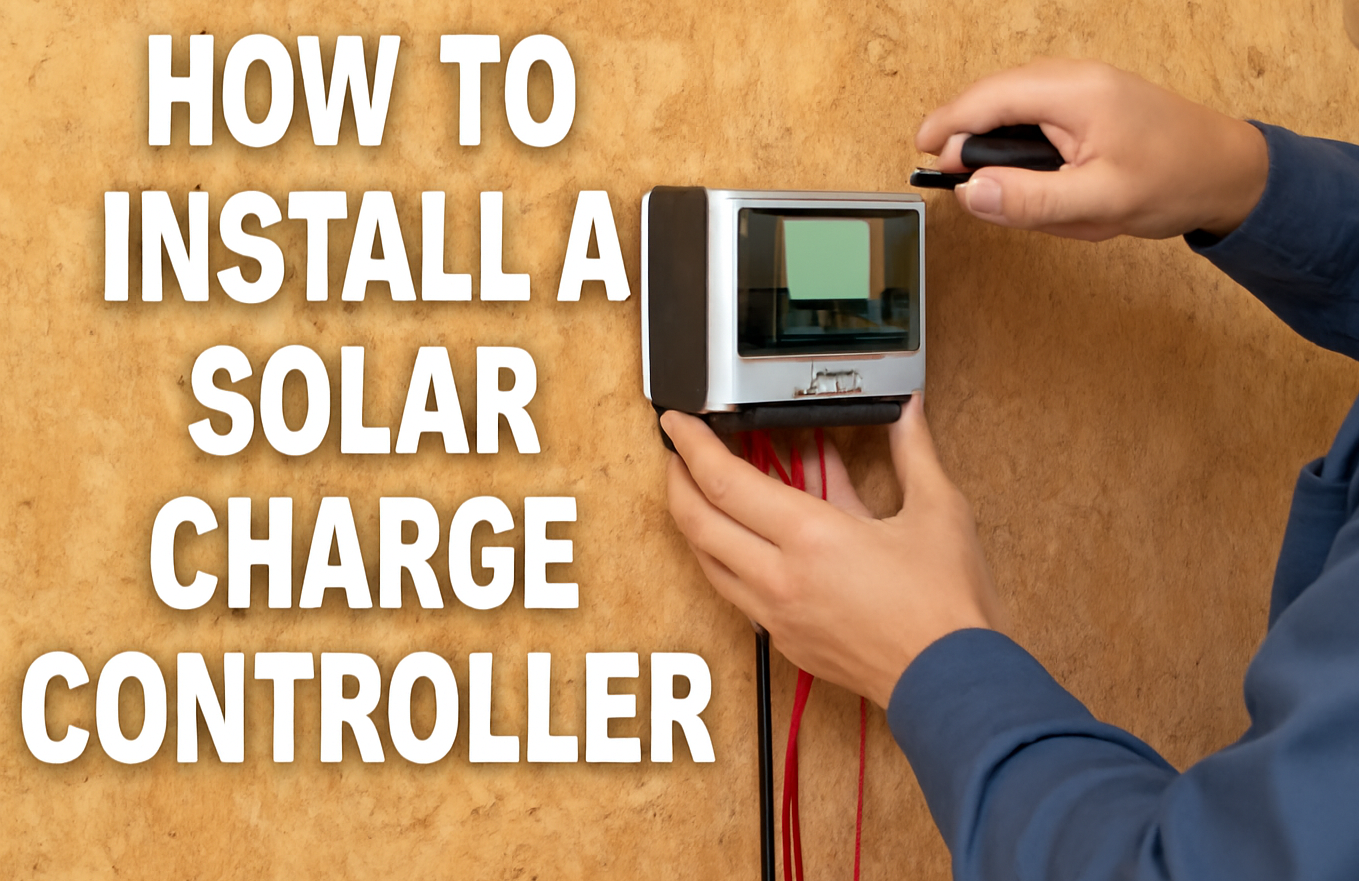
Step 2: Mount the Charge Controller

Pick a safe, dry place close to the batteries to mount the charge controller. The charge controller should be placed in a place where it can be easily accessible so you can easily check its display or indicator lights. Secure it to the wall by using screws and brackets with a little space in it to allow some air to flow so it can be prevented from getting too hot. As well, it should not be exposed to sunlight, rain, or moisture so it can function properly.

Step 3: Connect the Battery Bank to the Controller

  • Find the battery terminal on your charge controller; usually they are labelled with a battery symbol. Then connect the positive wire of the battery to the positive end of the controller.
  • Now, connect the negative (-) wire of the battery to the negative end on the controller.
  • You should ensure that wires are thick enough and in good condition. Secure the screws tightly to make the strong connections.
  • Finally, double-check that you haven’t mixed up the positive and negative wires.

Step 4: Connect the Solar Panels to the Controller

  • First, connect the positive wire of the panels to the positive end of the controller. 
  • Now, connect the negative wire of the panels to the matching negative ends.
  • If you have more than one panel, you should connect them in series to generate high voltage. For more current, they should be connected in a parallel way; this totally depends on the system demands.
  • Always use the right connectors and fuses to keep things safe.
  • And don’t forget that your panels should be directly exposed to sunlight so they can work efficiently.

Step 4: Connect the Load 

  • If you want to power things like lights or a small fan directly from the charge controller, use the load terminals.
  • Connect the positive (+) wire from your device to the positive load terminal.
  • Then connect the negative (–) wire to the negative load terminal.
  • This step is optional, many people connect devices directly to the battery or use an inverter instead.
  • Only use this option if your charge controller supports load output.
  • Make sure the connected devices don’t use more power than the controller can handle.

Step 5: Check the Connections

  • Once everything is connected, it’s time to test the setup.
  • Use a multimeter to check the voltage at both the battery terminals and solar input terminals.
  • This helps make sure the wiring is correct and power is flowing properly.
  • Look for correct voltage levels based on your battery and panel specs.
  • Double-check that all wires are tight and nothing is loose.
  • If anything looks off, turn off the system and fix it before continuing.

Step 6: Turn On the System

  • Start powering up the system step by step using your circuit breakers or switches.
  • First, turn on the battery breaker or switch.
  • Next, turn on the solar panel (PV module) breaker.
  • Finally, turn on the load breaker if you connected any devices to the controller.
  • This order protects the controller and ensures a smooth startup.
  • Watch for indicator lights or a display screen to come on.

Step 7: Set Up the Solar Charge Controller

  • Once it’s on, check the LED lights or screen to confirm the system is working.
  • Use the buttons or app (if available) to set the correct battery type—like lead-acid or lithium.
  • Adjust the charging settings to match your battery’s needs.
  • Some controllers let you set timers or different modes, check your manual for options.
  • Make sure the battery is charging and energy is flowing correctly.
  • Keep an eye on the controller for the next few hours to make sure everything stays stable.

Step 8: Monitor and Maintain the System

Now that your solar charge control is properly set up and running, it’s important to monitor it. As well as maintain the system so everything works accordingly.

  • Check the controller display regularly for system status.
  • Monitor battery voltage to ensure it’s within a safe range.
  • Observe solar input during daylight to confirm panel performance.
  • Watch for any error messages or warning lights.
  • Keep the controller area clean and well-ventilated.
  • Inspect wires and connections for any damage or looseness.
  • Keep a simple log of system performance and any issues.

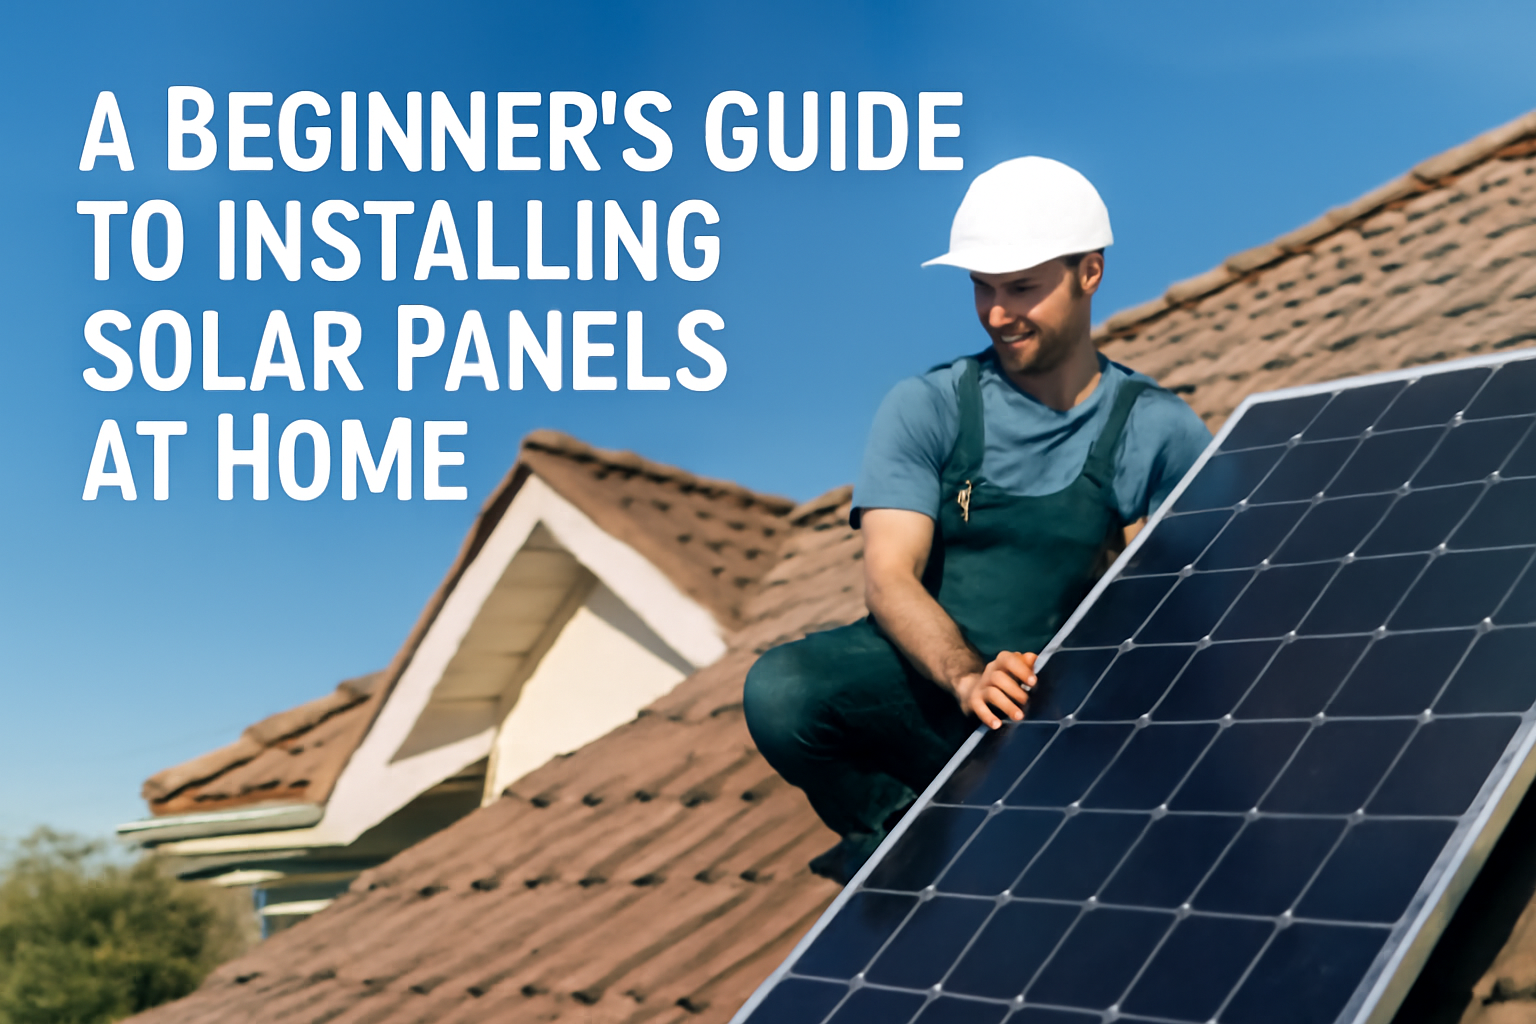
Also read how to install solar panels.

Final Tips for a Successful Solar Charge Controller Setup


It’s a good idea to check your solar system regularly, either once a day or at least a few times a week. This helps you catch any small issues before they turn into bigger problems. Start by looking at the charge controller to see if there are any warning lights or error messages. These messages can tell you if something isn’t working right. Also, check the battery voltage to make sure it’s not too low or too high. Finally, take a look at how much power your solar panels are producing during the day to be sure they’re working well. Regular checks like these help keep your system running smoothly and make your equipment last longer.

Contact us for all of your solar panels installation services.

Conclusion

Setting up a solar charge controller is a really important part of building your solar power system. It helps your batteries charge safely without getting damaged and makes them last longer. If you follow the steps properly and keep an eye on how things are working, your system will stay in good shape. Just remember to check on it regularly and do a little maintenance now and then, this will keep everything running smoothly for a long time.

FAQs

  1. Can a solar charger be used without a connecting load?

Yes, you can! If you only want to charge your battery without using devices directly from the controller, you don’t need to connect a load.

  1. How to check if my system is working properly or not?

Check the indicator lights or display on the charge controller. If everything is working correctly, the system will show normal voltage levels and charging status.

  1. When and how should I monitor the system daily?

It is a smart way to check your solar panel system every day or once a week. You should look for any error, monitor the battery voltage, and check if the solar panels are generating the power as they should be.

  1. Which kind of battery type can I use with my solar charger?

You should have to check which battery is compatible with your charge controller (e.g., lead-acid, lithium, etc.). All charge controllers don’t work with all battery types.

  1. What should I do if anything seems wrong with the solar charger?

If you see any error in the system. First, check the manual to identify the problem, try to fix loose wires, and reset the system, and if there is still an issue, contact customer support.

  1. How long does a solar charge controller last?

A good quality controller can last 5 to 10 years or more, especially if it’s installed properly and kept in a clean, dry place.

Are you thinking about using solar energy at home but feel confused about how to begin? You’re not the only one; many people feel the same way at first. Installing solar panels seems to be difficult, but it isn’t as hard as it sounds. With a little help and the right steps, anyone can do it. Solar panel installation has many benefits: it lowers electricity bills, boosts home value, and helps the environment by using clean energy. As well, they allow you to sell excess power back to the grid and store energy with a battery system for power outages.

So here are some simple steps to define how to install solar panels at home:

Step 1: Check if Your Home is Right for Solar

Not every roof is perfect for solar panels, so you have to look for these things on your roof:

  • Does your roof get a lot of direct sunlight during the day?
  • Do you have enough roof space to fit the panels?
  • Is your roof in good shape? If it needs repairs, do them before adding solar.

Step 2: Understand Your Energy Needs

You should look into your electricity needs by analyzing your electricity bills. This will give you an idea of how much energy your house needs. This will help you decide on the best and most efficient solar panels and how many panels you need. With this information, you can make a great choice for your solar panel installation.

Step 3: Choose the Best Solar Setup for Your Home

There are three main types of solar systems:

  1. Grid-tied: It is most common and works with your local power grid. You use solar during the day and the grid at night.
  2. Off-grid: It is not connected to the grid. You’ll need batteries to store energy.
  3. Hybrid: It is a mix of both. You use solar, have backup batteries, and still connect to the grid.

For most homeowners, grid-tied or hybrid systems are the easiest and most affordable.

Step 4: Choose the trusted solar Installer Company

It’s important to choose a trusted solar installer company to make everything smooth and stress free. Here’s what to look for when picking the right team for the job:

  • Choose the company that has experience installing solar panels in your area.
  • Check the customer satisfaction about their service and their trust in them.
  • Make sure that the company has a proper license and is insured to do the job properly.
  • Quote the price from a few companies and look into their service.

Step 5: The Final Step: Installation Day

Once you choose a company, they’ll handle the hard work:

  • Designing the system
  • Obtaining permits
  • Installing the panels
  • Connecting the system to the grid
  • The installation usually takes 1–3 days, depending on your home.

Conclusion

Installing solar panels is the best way to save money and is helpful for the environment. With the right planning and a trusted installer, you can start enjoying clean energy soon. Take the first step today, and soon you’ll be reaping the benefits of solar power!

FAQs

  1. What is the lifespan of solar panels?

Ans: Solar panels are built to last 25-30 years with just a little maintenance.

  1. How much does solar panel installation cost?

Ans: The cost of solar panels is based on the size of your home, energy requirements, and type of system, but many owners recover their investment in a few years.

  1. Can solar panels work on cloudy days too?

Ans: Yes, solar panels also work on cloudy days, but their efficiency is maximum when exposed to sunlight.

  1. Is a battery necessary with solar panels?

 Ans: A battery is usually not necessary; it’s optional, but it stores energy to use at night or during power outages.

  1. Can I install solar panels on my own?

Yes you can, but it’s better to hire a professional installer for safe and proper setup.

In Pakistan, power breakdown can be possible anytime. One minute you’re working or relaxing, and the next, everything shuts down, no lights, Wi-Fi, or cooling. But with a UPS and solar panels, you can avoid this and even reduce electricity bills. Solar panels provide clean energy, while the UPS keeps everything running during a power cut. It’s the perfect solution for reliable power and cutting down on your bills.

How Solar and UPS Work Together?

Sunlight energy is captured by solar panels and converted into electrical power that can be used in your home. Conversely, a UPS stores backup power and activates as soon as the power goes out. Together, they create a clever, dependable system that functions day and night. Your energy needs are met during the day by solar power, and in the event of a grid failure, the UPS serves as your backup. It’s an excellent method to save money, stay powered, and stay away from those irksome blackouts.

What are the parts and how does the system work?

Each part has its own role. All components work together to ensure steady and smooth power.

  • Solar Panels: They capture sunlight and convert it into DC electricity.
  • Charge Controller: The electricity flows through the charge controller. It makes sure your battery charges safely without overcharging.
  • Battery: It stores this extra energy so it’s ready when you need it.
  • Inverter: The stored DC power is then sent to the inverter. It converts it into AC, the current type your home appliances use.
  • UPS Unit: This steps in automatically during a power outage, using the stored energy from the battery to keep running devices.
  • Wiring, Connectors, and Mounting Equipment: All of the above things are connected by using wiring, connectors, and mounting equipment. By this, the system is safe, secure, and efficient.

How to Install It?

It’s better to seek professional help rather than installing it yourself. Here is the installation process step by step:

  1. Choose the right spot for your solar panels, usually the roof, where there’s max sunlight.
  2. Mount the panels securely using the brackets provided.
  3. Connect the panels to the charge controller.
  4. Link the charge controller to the battery; this will store your power.
  5. Connect the battery to the inverter/UPS unit.
  6. Connect your home appliances to the inverter/UPS.

Benefits of Solar with UPS

  • You will be no more stressed about power outages and disruption in your work.
  • It reduces your electricity bills after switching to solar panels.
  • Make an eco-conscious choice with clean, renewable solar power.
  • This is a low-maintenance system that keeps running smoothly with little effort.

Check out wide range of inverters at Dawam solar corporation.

Conclusion

Solar panel installation with UPS may be a bit technical, but once it’s done, it makes a big difference. You will be relaxed about power outages and have stable and clean energy, especially if you are living in Pakistan. If you are thinking about controlling your energy, it is time to get started.

FAQs

1. Why are we combining solar power with UPS?

By combining them, you have nonstop power. Solar panels work during daytime, and UPS keeps running everything when the power is out.

2. Can I use solar panels without a UPS?

Yes, but then you will need to depend on battery storage when there is no light.

3. How long will a UPS last during an outage?

It basically depends upon the battery size and load. Well, it usually works a few hours to keep running essential devices.

4. Is it expensive to install solar panels with a UPS?

The initial cost is high, but you’ll save on electricity bills in the long run, with possible incentives to reduce costs.

5. Do solar panels and UPS require frequent maintenance?

NO, they only need little maintenance, just cleaning of solar panels and checking of batteries.

More and more people in Pakistan are choosing solar panels these days because of reasonable problems. Electricity bills keep going up, power outages are common, and people are now more aware of the benefits of clean, renewable energy. Solar power gives a smart solution to these everyday problems. It helps save money and keeps your home running even when the power goes out. But one thing everyone wants to know is, how much does it really cost to get solar panels installed in Pakistan?

Here are some of the instructions for you:

What’s Included in the Cost?

Installing solar panels isn’t just about buying the panels. There are several parts and services involved in the full setup. It includes:

  • Solar panels: To capture sunlight to produce energy.
  • Inverter: It converts solar energy into usable electricity.
  • Batteries: They store energy for backup during load shedding; they are optional.
  • Mounting structure: This is required to hold the panels securely on your roof.
  • Wiring and accessories: They are required to connect all the system components.
  • Installation and labor: This covers setup and professional fitting.

How Much Do Solar Panels Really Cost?

In Pakistan, the costs of solar panels for residential systems depend on how much electricity is used in the household. Let’s break down an approximate cost range:

  • 3kW System: Ideal for small homes (300-350 units), costing Rs. 500,000–600,000.
  • 5kW System: Suitable for medium homes (500-600 units), priced at Rs. 800,000 – 1,000,000.
  • 10kW System: Best for large homes (900+ units), ranging from Rs. 1.5 to 1.8 million.

These prices include all parts and their installation costs. The additional costs for batteries range from Rs. 200,000 to 500,000 based on capacity and brand.

What is the cost difference between on-grid and off-grid solar panel systems?

  • On-Grid System: Connected to WAPDA. You can sell extra electricity to the grid (called net metering). Slightly cheaper. Most people in cities prefer on-grid systems with net metering, as they are more cost-effective and give returns over time.
  • Off-Grid System: Works independently. Needs batteries for backup. More expensive upfront.

How Net Metering Helps You Save on Energy Costs?

Once you install solar panels and get approval for net metering, you can even sell extra energy to the grid. This can reduce or may even eliminate your electricity bill, especially during the peak summer months. Setting up net metering costs between Rs. 50,000 and 100,000. It’s a one-time investment that pays off soon.

What is the maintenance and lifespan of solar panels?

Maintaining solar panels is easy; just clean them every few weeks, especially after dust storms. Solar panels last for over 25 years, and inverters last around 10 years. The yearly maintenance cost is low, usually between Rs. 5,000 and 10,000. It’s a small price to pay for long-term performance.

Conclusion

In Pakistan, solar panels are a great choice because of unusual power breakdowns and rapid increases in electricity bills. You can choose the best solar panel system for your home by understanding its cost and different options. Net metering is also helpful by allowing you to sell extra energy to the grid. Solar panel installation is a great one-time investment for a lifetime with little maintenance.

FAQs

1. Can solar panels work on cloudy or winter days?

Yes, solar panels still can work in all these kinds of weather, maybe with little efficiency. Pakistan gets plenty of sunlight year-round.

2. Is it possible to eliminate my electricity bill with solar panels completely?

Yes, it is possible. You can reduce or even eliminate your bill with proper system size and net metering.

3. How long does it take to install a solar system?

Installation usually takes 3 to 5 days; net metering approval can take 4 to 8 weeks.

4. Which are more reliable, local or imported solar panels?

Imported solar panels are more efficient and long-lasting as compared to local solar panels, which have slightly lower performance.

6. Can solar panels boost the value of a home?

Yes, homes with installed solar panel systems are more valuable because of lower electricity costs