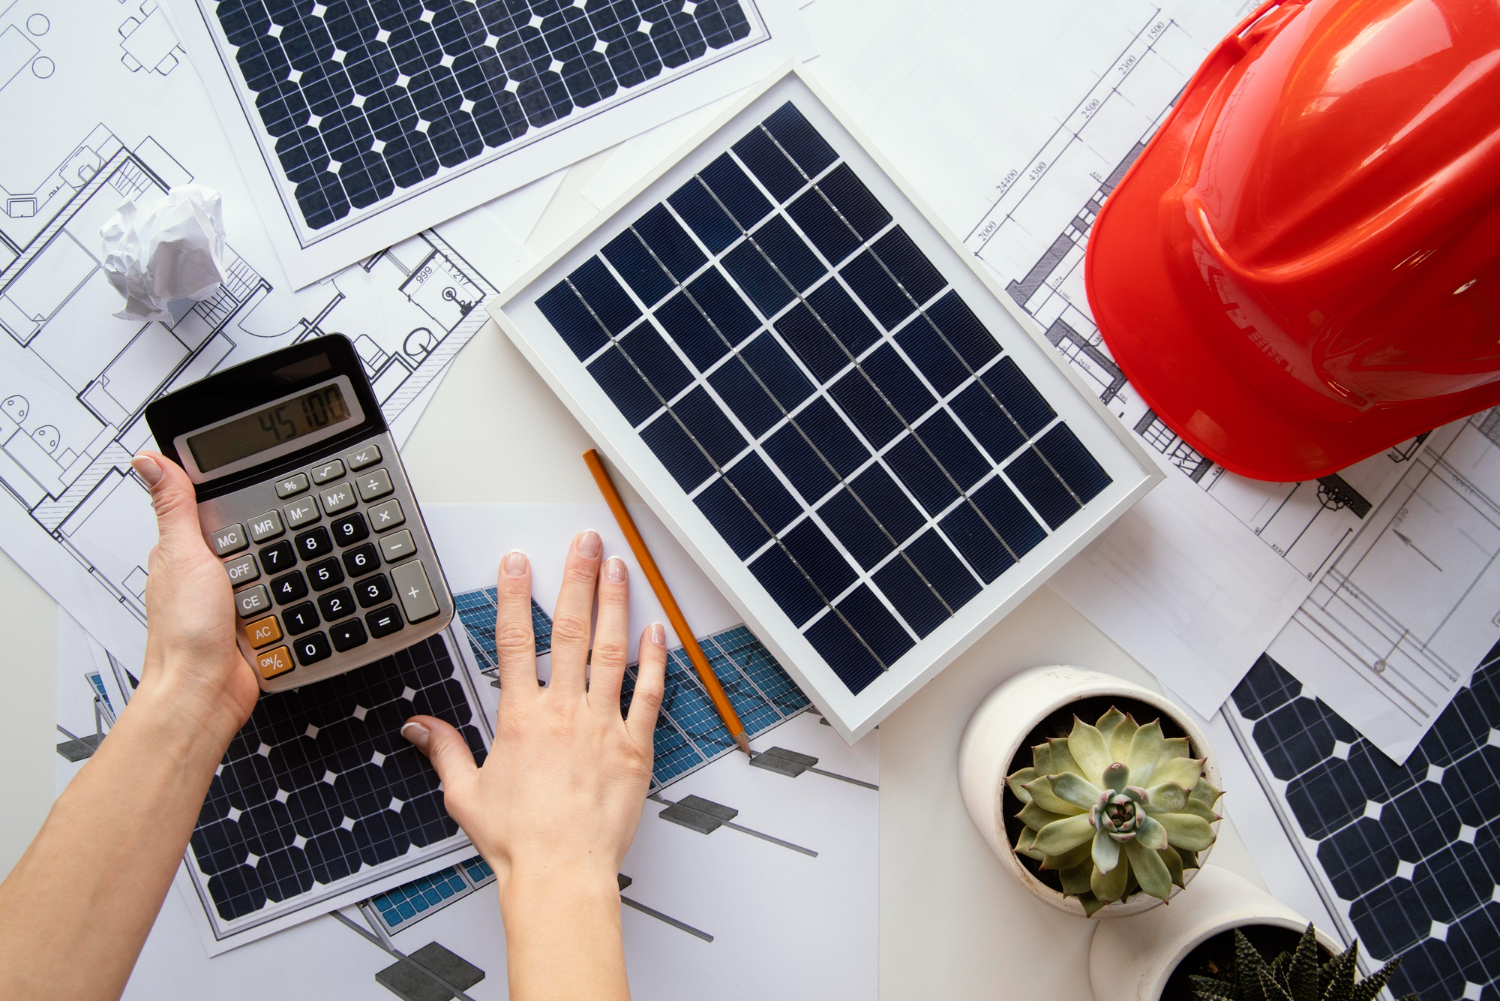
Are you thinking about installing solar panels at your home or office,but you are confused about the approximate cost? Don’t fear—you’re not alone. With load-shedding getting worse and energy payments going better each month, an increasing number of people in Pakistan are turning to solar energy. It’s a smart way to save money and enjoy uninterrupted electricity. But before you decide, it’s important to understand how much it costs. In this guide, you’ll learn about types of solar panels, top brands,per-watt prices, and complete installation cost, so you can make a better decision.

What are the Benefits of Choosing  Solar in Pakistan?

Pakistan is one of the sunniest countries in the world. Most areas get around 8–10 hours of sunlight per day, which makes solar energy highly effective and affordable in the long run.

Here are the top reasons people are installing solar systems:

  • Lower power bills: Installing solar panels allows you to to reduce your month-to-month electricity payments by producing your own power from daylight.
  • Backup at some point of load-shedding: Solar structures, in particular with batteries, offer backup power all through load-dropping and strength outages.
  • Environment-friendly: Solar energy is a clean and green supply of strength that enables us to lessen pollutants and defend the environment.
  • Good return on investment: Although the preliminary cost is high, solar panels pay for themselves within a few years via financial savings on electricity payments.
  • Government internet metering manual: With internet metering, the authorities allow you to sell extra energy back to the grid, similarly lowering your bill and growing savings.

Understanding Solar Panels Price List in Pakistan

The cost of a solar panel depends on

  • Type of solar panel (monocrystalline, polycrystalline, bifacial)
  • Brand
  • Power rating (watts)
  • Warranty
  • Installation and inverter charges

Let’s now break it down so you can understand easily.

Solar Panel Price per Watt in Pakistan (2025)

Solar panels are usually priced per watt (W). The higher the wattage, the more power it produces. Here is the average price per watt:

Panel TypePrice Range (Per Watt)Efficiency
PolycrystallineRs. 35 – Rs. 45Moderate (~16%)
MonocrystallineRs. 45 – Rs. 60High (~20%)
Bifacial (Dual Side)Rs. 55 – Rs. 70Very High (20%+)

Note: These are market average prices as of mid-2025. Prices may vary by city and brand.

Common Solar Panel Sizes & Prices in Pakistan

Here’s a basic list of popular panel sizes and their estimated market prices:

Solar Panel SizeTypeAverage Price (PKR)
150WPolyRs. 5,500 – 6,500
250WPolyRs. 8,000 – 10,000
330WMonoRs. 12,000 – 14,500
400WMono/BifacialRs. 15,000 – 18,500
500WMono/BifacialRs. 18,000 – 23,000
550WBifacial (Top Tier)Rs. 22,000 – 26,000

Complete Solar System Cost in Pakistan (With Installation)

Let’s now see the estimated total price if you want to install a full solar panel system at your home.

3kW Solar System (For small homes)

  • A 3kW solar panel is ideal for small homes as it may run fans, lights, and 1–2 fundamental home equipment like a TV or small fridge.
  • The price variety for this setup is between Rs. 450,000 and Rs. 550,000, depending on the brand and installation setup.
  • It supports net metering, so you can sell extra electricity back to the grid and lower bills.
  • If you choose a hybrid system with batteries, it can offer backup power for four to six hours during the time of load-shedding.

5kW Solar System (For medium homes)

  • A 5kW solar panel system is suitable for medium-sized houses and may without difficulty run lights, fans, fridge, an AC, and a washing machine.
  • The overall value for this system normally falls between Rs. 750,000 and Rs. 950,000, depending on the equipment and installer.
  • It is compatible with internet metering, so you can store extra by way of promoting more electricity lower back to the grid.
  • If hooked up as a hybrid solar panel system with batteries, it may give you backup power for six to eight hours throughout load-shedding.

10kW Solar System (For large homes or offices)

  • A 10kW solar panel system is perfect for massive houses or workplaces, as it could run the complete house, which includes a couple of ACs, appliances, and heavy electrical loads.
  • The overall price of this solar panel system usually ranges from Rs. 1,300,000 to Rs. 1,700,000, depending upon the quality of components and installation service.
  • It is absolutely net metering enabled, permitting you to sell more energy to the grid and reduce your month-to-month bill.
  • When established as a hybrid system with batteries, it can offer backup strength for 8 to 10 hours at some point of load-dropping or power outages.

Includes: solar panels, inverter, batteries (if hybrid/off-grid), structure, wiring, and installation.

Top Solar Panel Brands in Pakistan

Here are some reliable solar panel brands available in Pakistan:

BrandCountryPopularityWarranty Offered
Longi SolarChina★★★★★10–25 years
JA SolarChina★★★★☆10–25 years
Canadian SolarCanada★★★★★10–25 years
Jinko SolarChina★★★★☆10–25 years
Trina SolarChina★★★★☆10–25 years
InverexPakistan★★★★☆5–10 years
Tesla SolarLocal★★★☆☆5–10 years

Pro Tip: Always choose Tier-1 panels with certified warranties from trusted sellers.

The Inverter Cost

The solar inverter is the brain of your solar system, it converts DC to AC so your appliances can use the energy.

Here’s the average inverter price list:

Inverter CapacityTypePrice Range
3kWOn-GridRs. 90,000 – 120,000
5kWHybridRs. 140,000 – 200,000
10kWHybridRs. 250,000 – 350,000

Battery Cost (Optional for Hybrid/Off-Grid)

If you want backup during load-shedding, you’ll need batteries. These add to the overall cost but give peace of mind.

Battery TypePrice Range (Per Battery)Life Span
Lead AcidRs. 25,000 – 35,0002–3 years
Dry BatteryRs. 40,000 – 60,0003–4 years
Lithium-ionRs. 90,000 – 150,0008–10 years

Factors That Affect Solar Panel Prices

Here are a few reasons why solar panel prices may go up or down:

  • Dollar Rate: Most panels are imported.
  • Brand Name: Premium brands cost more.
  • Technology: Bifacial and N-type are more expensive.
  • Warranty Period: Longer warranty = higher price.
  • Installation Area: Difficult rooftops or ground mounts may increase labor cost.

Is It Worth It? Return on Investment

Yes, it is! A properly installed solar system can recover its full cost in 3 to 5 years, after which you enjoy free electricity for 20+ years.

With net metering, your electricity bill can go down to zero, and you may even earn from excess energy exported back to the grid.

Tips for Buying Solar Panels in Pakistan

Here are expert tips to get the best value:

  1. Get quotes from multiple companies—compare before you buy.
  2. Check warranty and efficiency—Don’t fall for fake offers.
  3. Choose the right system size—based on your monthly electricity usage.
  4. Always go for certified installers—avoid risks of faulty wiring or breakdowns.
  5. Ask for net metering registration—it adds long-term value.

How much electricity a solar panel can generate

Conclusion: Invest Smart, Live Bright

Switching to solar is no longer just a trend, it’s a smart decision. With high electricity prices in Pakistan, solar energy offers long-term savings and energy independence.

Before investing, always study the latest solar panel price list, compare brands, and select a trusted installer. Whether you want a 3kW system or a large 10kW hybrid setup, solar can give you control over your bills and contribute to a greener Pakistan.

FAQ: Solar Panel Price in Pakistan

Q1: What is internet metering, and how does it assist?

Net metering permits you to promote more electricity returned to Electricity generating companies, which could lessen or maybe eliminate your bill.

Q2: Can I run AC on solar panels?

Yes, if your system is 3 kW or higher, you can run 1 or extra ACs, depending on your general system load and usage.

Q3: Are solar panels water-resistant?

Yes, solar panels are absolutely water resistant and designed to deal with rain, dirt, and outside climate.

Q4: How much area is needed for putting in solar panels?

A 1kW system needs around a hundred rectangular feet of shadow-free space. So, a 5kW system requires around 500 rectangular feet.

Q5: Is solar better than the usage of UPS?

Yes, solar is cleaner, cheaper in the end, and offers higher backup with internet metering.

A solar charge controller is basically a smart device that manages the transfer of electricity from solar panels to your batteries. It makes sure that batteries get the right amount of energy, as too much energy can damage them and too little can leave them uncharged. So by balancing the amount of energy, it ensures that your batteries can last longer and work greatly. Without a charge controller, your batteries could get ruined, or your solar panel system might stop working properly. Think of it as the traffic cop of your solar system, directing the energy safely. It’s a must-have part of any solar setup.

Types of Solar Charge Controllers

There are two main types of solar charge controllers:

  • PWM (Pulse Width Modulation): They are budget-friendly and work best for smaller systems.
  • MPPT (Maximum Power Point Tracking): They are more efficient, but their cost is high.

Things You’ll Need

Before you start, gather the following things:

  • Solar charge controller
  • Battery bank
  • Solar panels
  • Wires (with appropriate thickness)
  • Multimeter (for checking voltages)

Steps to Install Your Solar Charge Controller

Step 1: Turn Off the System

When you start working, you should make sure that everything is turned off. Firstly, disconnect the solar panels and then the battery. By this safety method, you will be safe from electric shocks or short circuits. Always double-check that no power is flowing before you begin.

Step 2: Mount the Charge Controller

Pick a safe, dry place close to the batteries to mount the charge controller. The charge controller should be placed in a place where it can be easily accessible so you can easily check its display or indicator lights. Secure it to the wall by using screws and brackets with a little space in it to allow some air to flow so it can be prevented from getting too hot. As well, it should not be exposed to sunlight, rain, or moisture so it can function properly.

Step 3: Connect the Battery Bank to the Controller

  • Find the battery terminal on your charge controller; usually they are labelled with a battery symbol. Then connect the positive wire of the battery to the positive end of the controller.
  • Now, connect the negative (-) wire of the battery to the negative end on the controller.
  • You should ensure that wires are thick enough and in good condition. Secure the screws tightly to make the strong connections.
  • Finally, double-check that you haven’t mixed up the positive and negative wires.

Step 4: Connect the Solar Panels to the Controller

  • First, connect the positive wire of the panels to the positive end of the controller. 
  • Now, connect the negative wire of the panels to the matching negative ends.
  • If you have more than one panel, you should connect them in series to generate high voltage. For more current, they should be connected in a parallel way; this totally depends on the system demands.
  • Always use the right connectors and fuses to keep things safe.
  • And don’t forget that your panels should be directly exposed to sunlight so they can work efficiently.

Step 4: Connect the Load 

  • If you want to power things like lights or a small fan directly from the charge controller, use the load terminals.
  • Connect the positive (+) wire from your device to the positive load terminal.
  • Then connect the negative (–) wire to the negative load terminal.
  • This step is optional, many people connect devices directly to the battery or use an inverter instead.
  • Only use this option if your charge controller supports load output.
  • Make sure the connected devices don’t use more power than the controller can handle.

Step 5: Check the Connections

  • Once everything is connected, it’s time to test the setup.
  • Use a multimeter to check the voltage at both the battery terminals and solar input terminals.
  • This helps make sure the wiring is correct and power is flowing properly.
  • Look for correct voltage levels based on your battery and panel specs.
  • Double-check that all wires are tight and nothing is loose.
  • If anything looks off, turn off the system and fix it before continuing.

Step 6: Turn On the System

  • Start powering up the system step by step using your circuit breakers or switches.
  • First, turn on the battery breaker or switch.
  • Next, turn on the solar panel (PV module) breaker.
  • Finally, turn on the load breaker if you connected any devices to the controller.
  • This order protects the controller and ensures a smooth startup.
  • Watch for indicator lights or a display screen to come on.

Step 7: Set Up the Solar Charge Controller

  • Once it’s on, check the LED lights or screen to confirm the system is working.
  • Use the buttons or app (if available) to set the correct battery type—like lead-acid or lithium.
  • Adjust the charging settings to match your battery’s needs.
  • Some controllers let you set timers or different modes, check your manual for options.
  • Make sure the battery is charging and energy is flowing correctly.
  • Keep an eye on the controller for the next few hours to make sure everything stays stable.

Step 8: Monitor and Maintain the System

Now that your solar charge control is properly set up and running, it’s important to monitor it. As well as maintain the system so everything works accordingly.

  • Check the controller display regularly for system status.
  • Monitor battery voltage to ensure it’s within a safe range.
  • Observe solar input during daylight to confirm panel performance.
  • Watch for any error messages or warning lights.
  • Keep the controller area clean and well-ventilated.
  • Inspect wires and connections for any damage or looseness.
  • Keep a simple log of system performance and any issues.

Also read how to install solar panels.

Final Tips for a Successful Solar Charge Controller Setup


It’s a good idea to check your solar system regularly, either once a day or at least a few times a week. This helps you catch any small issues before they turn into bigger problems. Start by looking at the charge controller to see if there are any warning lights or error messages. These messages can tell you if something isn’t working right. Also, check the battery voltage to make sure it’s not too low or too high. Finally, take a look at how much power your solar panels are producing during the day to be sure they’re working well. Regular checks like these help keep your system running smoothly and make your equipment last longer.

Contact us for all of your solar panels installation services.

Conclusion

Setting up a solar charge controller is a really important part of building your solar power system. It helps your batteries charge safely without getting damaged and makes them last longer. If you follow the steps properly and keep an eye on how things are working, your system will stay in good shape. Just remember to check on it regularly and do a little maintenance now and then, this will keep everything running smoothly for a long time.

FAQs

  1. Can a solar charger be used without a connecting load?

Yes, you can! If you only want to charge your battery without using devices directly from the controller, you don’t need to connect a load.

  1. How to check if my system is working properly or not?

Check the indicator lights or display on the charge controller. If everything is working correctly, the system will show normal voltage levels and charging status.

  1. When and how should I monitor the system daily?

It is a smart way to check your solar panel system every day or once a week. You should look for any error, monitor the battery voltage, and check if the solar panels are generating the power as they should be.

  1. Which kind of battery type can I use with my solar charger?

You should have to check which battery is compatible with your charge controller (e.g., lead-acid, lithium, etc.). All charge controllers don’t work with all battery types.

  1. What should I do if anything seems wrong with the solar charger?

If you see any error in the system. First, check the manual to identify the problem, try to fix loose wires, and reset the system, and if there is still an issue, contact customer support.

  1. How long does a solar charge controller last?

A good quality controller can last 5 to 10 years or more, especially if it’s installed properly and kept in a clean, dry place.